


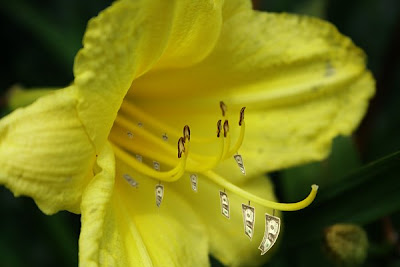
Today I am going to show you how to create this image:

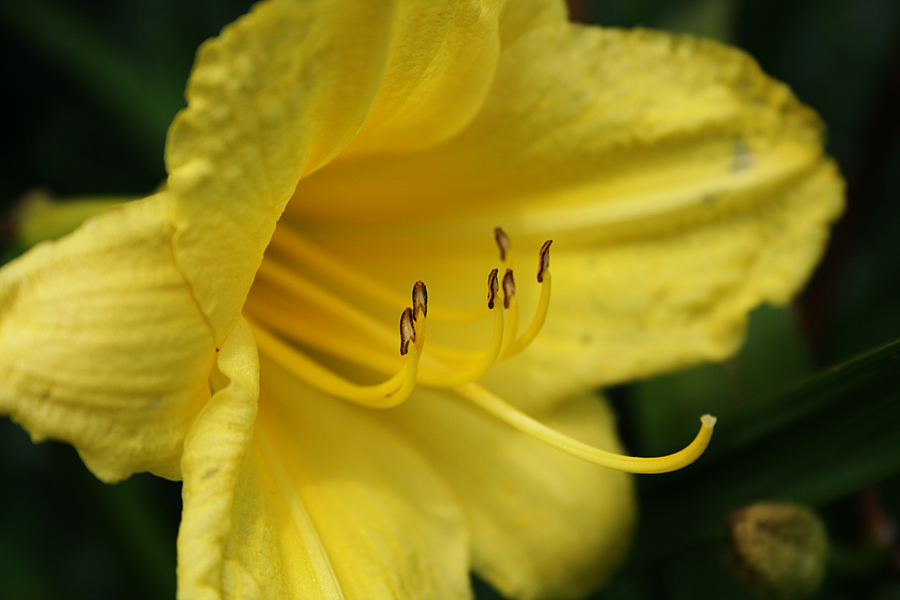
1. Open up the flower image provided here. Duplicate the image and go to Hue/Saturation and change the hue to +10. Change this layer's mode to "Color". Lower the opacity to 50%.

2. Paste in your dollar bill image. Rotate it to be going vertical if needed. Don't bother resizing the original dollar layer, instead just duplicate the layer and scale the duplicate layer to a realistic size. Place it under one of the arms of the flower.

3. Open up an image of an apple's stem. Render out just the stem and place it right above the dollar. Merge the stem layer onto the dollar layer. Duplicate this layer and hide one of them. Go to Edit>Transform>Warp and manipulate the dollar to make it look unique and natural.

4. Reveal the duplicated stem-dollar layer and duplicate it several more times and move those duplicates to other locations on the flower. Go to Edit>Transform>Warp for each bill to give them a unique look. Scale them to realistic sizes. Blur the dollar bills that are further away. Use the Dodge/Burn Tool to add some dynamic lighting and shading onto the dollar bills.

5. Select each of the dollar bills by either going to Select>Load Selection>Add to Selection on each layer or holding Ctrl and Shift while clicking on each layer's icon on the layer's dialog. Create a new layer and fill the selection with color #a28a00. Change the layer mode to "Soft Light" and lower the opacity to 60%.
6. Create a new layer and go to Image>Apply Image. Using the Burn Tool, darken the center area of the flower with a very large soft brush. You may need to select everything but the part of the flower that is on the left that should stay light

7. Now for some gradient maps. Create a new layer and go to Image>Apply Image. Now go to Image>Adjustments>Gradient Map and change the map to the already made Purple-Orange gradient. Change the layer mode to "Soft Light" at 25%. Repeat this process except this time use a light blue as the foreground of the gradient and a dark blue for the background. Change the layer mode to "Saturation" at 35%.

You're now finished, congratulations :)
Subscribe To
This tutorial is for both Photoshop and Gimp
In this tutorial you will learn how to create this image created by me. The tools and instructions can be interpretated to both Photoshop and Gimp. This tutorial is not recommended for beginners because the tutorial is more to the point and does not discuss how to use tools.
1) Find a picture of an elephant. I used this one: http://www.digitaldesktopwallpaper.com/wallpapers/elephant_1.jpg
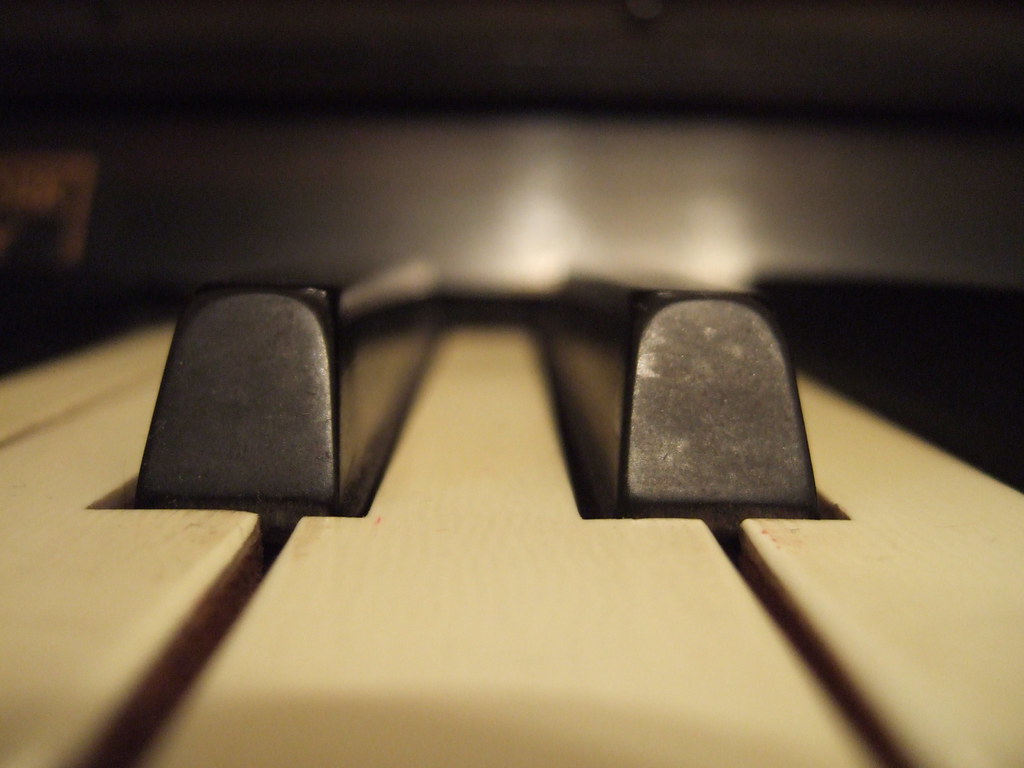
2) Open up the picture of the piano
3) Render out the Elephant's ears and head. I used the same ear for both sides so that I didn't have to render out both. Here's both pieces already rendered for you!
4) Copy and paste the head onto the from of the piano key. Use the dodge and burn tools to lighten and darken the areas that match the piano.
5) Copy and paste the ear on one side of the piano. Use the Perspective and Distort transform tools to adjust the ear. Again, use the burn and dodge tools to add lighting.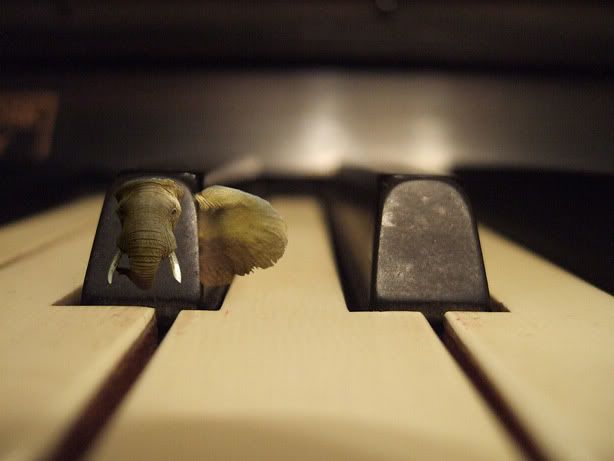
6) Add the other ear, changing it with the Perspective and Distort transform tools. Once again, use the dogde and burn tools to add the correct lighting.
7) Use either the burn tool or a soft low-opacity brush to add some shadows below the elephant onto the keys.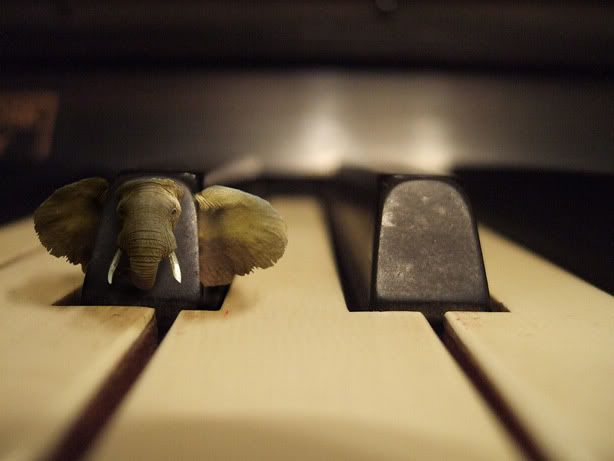
8) Adjust each of the ears and the head on with the Curves to try and match it better with the piano image.
9) Using the clone tool, make some low-opacity brushes of the elephants head onto the front of the piano key to help it blend in.
10) Make a new layer and fill it with a light brown. Change the layer mode to Soft Light at around 30% opacity.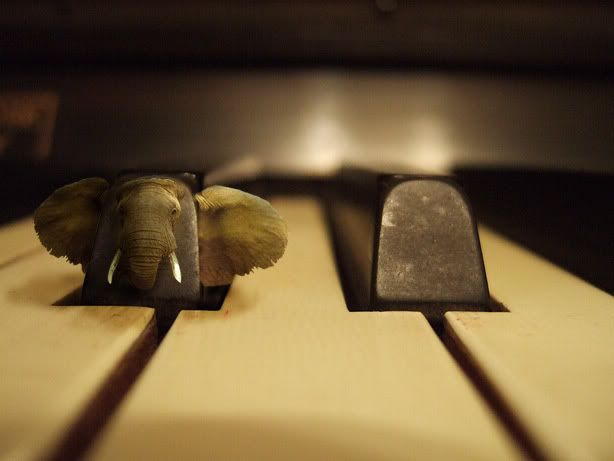